Introduction to Honeywell Thermostats
An Introduction to the Value of Honeywell Thermostats
For anyone stepping into the world of smart home technology, Honeywell thermostats stand out as a popular choice. Renowned for their durability and innovative features, these devices cater to a range of heating and cooling systems, enhancing the comfort and efficiency of any living space. Honeywell thermostats support various system configurations. Whether you need to regulate a heat pump, forced air, or manage an auxiliary heat source, Honeywell offers compatible solutions. Their products can seamlessly manage different heat sources such as gas, oil, or electric systems, rendering them a versatile choice.Understanding Honeywell's Compatibility with Different Systems
Compatibility is crucial when choosing a thermostat. Honeywell models can connect effectively with numerous types of setups including dual fuel systems, where a primary heat source is supported by auxiliary heat. Equipped with the right thermostat wiring skills, you can manage complex setups like a reversing valve for heat pumps, or intricate wiring for aux heat control. Furthermore, these thermostats allow for easy connection to HVAC systems. They offer support for air handlers, handling both cooling and heating efficiently. For those with more intricate requirements, the capability to connect wire a fan or manage hot water and water heat through their systems is a plus.Benefits of Honeywell T6 Pro Smart Thermostat
Installing a Honeywell thermostat not only enhances system efficiency but also offers advanced features for ease of use. The Honeywell T6 Pro is one such model that boasts energy savings and smart home integration. For anyone considering an upgrade, it might be worth exploring the potential benefits this particular https://www.smart-thermostat-guru.com/blog/exploring-the-benefits-of-the-honeywell-t6-pro-smart-thermostat offers.Decoding the Wiring Diagram
Interpreting the Labels and Symbols
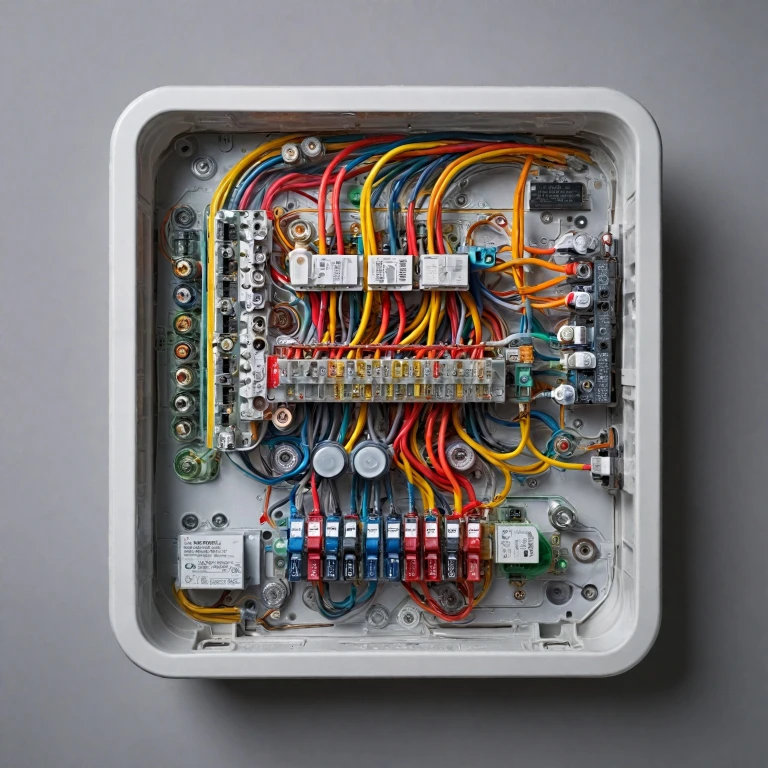
Understanding a Honeywell thermostat wiring diagram may seem overwhelming at first, but once you begin to decode its language, it becomes more manageable. The diagram serves as a map, providing crucial guidance on how to connect wires correctly to their respective terminals. Each wire corresponds to a different function in your heating and cooling system, such as heat, cooling, fan, or auxiliary functions.Identifying the Color-Code and Their Functions
Typically, wires are color-coded to help in identifying their purpose in the system:- Red (R terminal): Delivers power from the transformer
- White (W terminal): Connects to the furnace or aux heat relay
- Yellow (Y terminal): Engages the cooling or heat pump
- Green (G terminal): Operates the fan or air handler
- Blue/Black (C terminal): Common wire, usually required for WiFi thermostats for continuous power supply
Recognizing Terminal Labels and Supported Systems
Each terminal on your thermostat performs a specific function, and understanding these labels is fundamental:- O/B: Controls the reversing valve in heat pump systems, determining the mode (heat/cool)
- Aux: Engages auxiliary heat, particularly in heat pump systems for additional warming
- E: Emergency heat, often used in dual fuel systems
- L: Can indicate a heat pump fault
Common Wiring Configurations
Typical Connections in Honeywell Thermostats
When it comes to wiring your Honeywell thermostat, understanding the common wiring configurations can simplify the installation process. Honeywell thermostats are designed to support a wide range of systems, from traditional heating and cooling setups to complex dual fuel configurations.
For heating systems, the wiring will usually involve a heat pump or gas furnace. The main terminals you might encounter include:
- R (Red Wire - Power Supply): Powers the thermostat. For systems with separate heating and cooling units, the Rh and Rc wires might be split.
- W (Wire Heat - Heat Signal): Connects to the heat source, whether it's a furnace or a specific heat pump configuration.
- Y (Cooling): Often linked to the air conditioning system, controlling the compressor.
- G (Fan): Controls the operation of the fan, activating it when needed.
- O/B (Reversing Valve): Specifically for heat pump systems, managing the change from heating to cooling mode.
- Auxiliary Heat (Aux Heat): Supports additional heat when temperatures drop, commonly in electric heat pump systems.
Configurations may also involve air handlers, which are crucial for forced air systems. These systems effectively manage air distribution, using the G terminal to control the fan or blower.
For cooling, the Y terminal typically plays a central role. Some systems might incorporate a more advanced setup, linking additional power or control lines for features like enhanced fan control or specific auxiliary heating setups.
One frequent question relates to the C (Common) wire. This wire is crucial as it provides continuous power to the thermostat, especially models that support Wi-Fi connectivity. Not every setup will require it, but it's necessary for smart thermostats to function correctly without battery dependency.
Next, exploring potential troubleshooting scenarios should help navigate any issues that arise during wiring. This can include pump faults or misconfigured connections to terminal heat settings.
Troubleshooting Wiring Issues
Identifying and Resolving Wiring Problems
Troubleshooting wiring issues in a Honeywell thermostat can sometimes be a challenge, especially when dealing with intricate setups like heat pumps or dual fuel systems. It's crucial to ensure that each wire is correctly connected, well-labeled, and matches the diagram provided for your specific model.
Common problems often arise with misconnected wires or mislabeled connections, which can lead to improper system functionality such as the heat or cooling not turning on as expected. Here are a few steps and tips to guide you through resolving these potential issues:
- Check Wire Connections: Verify that all wires are securely connected to their respective terminals. Loose connections can disrupt power or cause malfunctioning.
- Verify Labels: Ensure that each wire corresponds to the correct terminal as indicated in your wiring diagram. Mislabeling can affect power delivery and component operation.
- Corrosion Check: Look for signs of corrosion on the terminal screws or wire ends, which can hinder proper electrical connection.
- Heat Pump Specifics: If using a heat pump system, ensure the reversing valve is correctly connected to control heat and cool operations effectively.
- Auxiliary and Dual Fuel Systems: For systems equipped with auxiliary heat or dual fuel capabilities, confirm these are correctly wired. The aux heat should be ready to engage during extremely cold conditions when the main heat pump is insufficient.
- Power Supply: Double-check that the system has continuous power by inspecting the common wire (C-wire), which is essential for powering the thermostat display and certain functions.
- Compatibility Issues: Ensure your thermostat model is compatible with your HVAC system configuration. Mismatched systems could necessitate additional wiring modifications.
If these steps don't resolve the issue, consulting with a professional who has experience in thermostat wiring diagrams can help find more intricate faults like hidden pump or valve issues.
Safety Tips for Wiring Installation
Essential Precautions for Safe Wiring
When working with Honeywell thermostats, ensuring safety during the wiring installation process is paramount. The complexity of these systems, especially when integrating a heat pump or dual fuel system, requires a keen understanding of its elements to prevent faults or damage.- Verify Power Disconnection: Before you start, make sure the power to the HVAC system is completely turned off. Skipping this step can lead to electrical shocks or short circuits when connecting the wires.
- Understand Wire Functions: Know the role each wire plays in your thermostat wiring system. For example, wires such as the 'C' wire (common wire) provide continuous 24V power, and the 'W' wire activates the heating system, like an electric furnace. Identifying wires correctly helps prevent improper connections that could damage internal components or lead to inefficient system performance.
- Labeling Wires: Before disconnecting old thermostats, label each wire connected to the terminals. Terms like AUX or G on the thermostat terminal plate could correspond to the auxiliary heating system or fan operations – essential for later setups.
- Follow Compatible Diagrams: Use the wiring diagrams provided with your Honeywell thermostat manual. They offer specific guidance concerning terminal connections – especially important when integrating heat cool functionality in systems involving forced air or hot water.
- Consider Professional Support: If you’re unsure about any step, consulting with a professional can provide peace of mind. They can not only ensure the safety of your electric connections and components, such as the water heat and reversing valve, but also help in setting up specialized configurations like those involving auxiliary heat settings.
Advanced Wiring Techniques
Taking Control: Optimizing Your Honeywell Thermostat
For those who have navigated through understanding wiring diagrams and tackled common setups, it's time to explore the advanced aspects of wiring your Honeywell thermostat. This will ensure your system operates at peak efficiency, providing comfort while saving on energy costs.- Dual Fuel Systems: If your setup involves a combination of heat pump and auxiliary heat, ensure compatibility with your thermostat. Dual fuel systems often require specific wiring that supports a gas furnace alongside an electric heat pump.
- Terminal Utilization: Utilize additional terminals for optimizing controls such as connecting the reversing valve to regulate the flow direction of your heat pump. This is crucial in both heating and cooling modes to maximize efficiency.
- Managing Auxiliary Heat: Advanced systems can include an auxiliary heat source. Make use of your thermostat wiring to efficiently shift from primary heating to auxiliary when needed, especially in extremely cold conditions.
- Heat Pump Connections: Ensure that your setup for heat pump systems includes a proper connection to prevent issues such as pump fault. Proper placement of wires into the designated terminals is pivotal.
- Zoning Capabilities: If your residence or office has multiple zones, ensure each zone's thermostat is wired accurately to communicate with the common air handler, fostering balanced climate control.
- Ensuring Adequate Power Supply: Advanced configurations may require attention to the common wire, sometimes referred to as the 'C wire,' to ensure sufficient power support for modern thermostat features.