What is a 4-Wire Thermostat?
What is Behind the 4-Wire Setup?
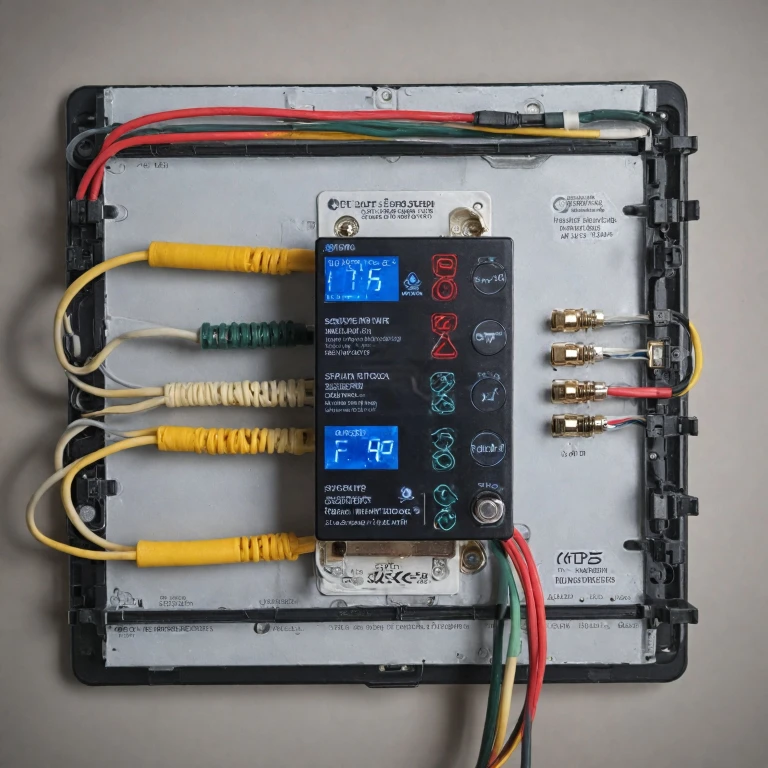
A 4-wire thermostat is quite common in households, forming the backbone of many HVAC systems. This particular wiring setup is designed to control heating and cooling systems efficiently, ensuring homes maintain a comfortable temperature.
Typically, the four wires connect various components:
- Power Wire: Supplies power to the thermostat itself.
- Heating System Wire: Connects to the heating system, be it a furnace or heat pump.
- Cooling System Wire: Links to the air conditioner or cooling unit.
- Common Wire: Also known as the C-wire, it is integral in powering smart thermostats, such as the Nest thermostat.
Understanding the various connections and the role each wire plays is crucial for successful thermostat wiring and operation. Each wire serves a distinct purpose, from delivering power to managing system transitions from heating to cooling. The intricate web of connections underscores the importance of correctly wiring your thermostat. For those upgrading to programmable thermostats for line voltage systems, further insights can be explored here.
Many homeowners are intrigued by the potential of smart control over their HVAC systems, leading them to delve deeper into thermostat wires and their functions. From understanding color codes to the correct terminal configurations, mastering this knowledge empowers users to tackle common wiring challenges and enhances the overall efficiency of HVAC systems.
The Importance of Proper Wiring
Significance of Correct Wiring Practices
Ensuring a correctly wired thermostat is crucial for the efficient functioning of your HVAC system. A misstep in the thermostat wiring can lead to a myriad of issues, including inefficient heating or cooling, excessive energy consumption, and an increased risk of damage to the system components. Therefore, understanding the significance of proper wiring before tackling your project is vital. One critical aspect is the connection of the common wire, often referred to as the "C" wire. This wire provides continuous power to the thermostat, which is essential for systems like smart thermostats that require a steady power flow for optimal operation. A failure to connect this wire correctly can lead to frequent power losses and interruptions in system control. Moreover, the color codes in thermostat wires play a significant role in distinguishing among different functions. Typically, these include:- Red wire (R): Power from the furnace transformer
- White wire (W): Heat control (for heating systems)
- Yellow wire (Y): Cooling control (for air conditioning)
- Green wire (G): Fan control
Step-by-Step Guide to Wiring a 4-Wire Thermostat
Step-by-Step Instructions for Connecting Your Thermostat
Connecting a 4-wire thermostat requires careful attention to ensure your HVAC system operates smoothly, from heating to cooling. Before starting, it’s essential to have a clear wiring diagram and understand the common wire color codes used in thermostat wiring. Here’s a step-by-step guide to help you connect your thermostat wires correctly.
First, turn off the power to your HVAC system to ensure safety during the installation process. Locate your current thermostat and remove it carefully from its mount. This will expose the wires connected to the thermostat terminals.
- Identify the Wires: Typically, the wires are color-coded for easier identification. However, relying solely on color can be misleading, so it's critical to check your system's control board to verify terminal connections. The wires commonly include:
- Red (R): Power supply from the system’s control board
- White (W): Heating control, usually linked to the furnace for heat systems
- Yellow (Y): Cooling control, often connecting to the air handler or cooling system
- Green (G): Fan control, allows the system to distribute heat and cooling evenly
- Connect the Wires: Match each wire to the corresponding terminal on your new thermostat. For instance, attach the red wire to the R terminal, white to W, yellow to Y, and green to G. If your system includes features like aux heat or a heat pump, additional wires like the orange wire for the reversing valve may be present.
- Check the Common Wire (C-Wire): The common wire provides a continuous flow of power to the thermostat. If your system includes a Nest thermostat or similar smart models, the common wire is crucial for functionality. If a C-wire is absent, consider using a power adapter or consulting with an HVAC professional to establish this connection.
Once all wires are securely connected to their respective terminals, snap the thermostat into place and ensure it is mounted correctly. Restore the power to your HVAC system and test the setup by adjusting the heating and cooling settings on the thermostat.
For more detailed guidance, especially when integrating smart features, explore resources on enhancing your home's efficiency with smart thermostats.
Common Mistakes and Troubleshooting Tips
Identifying and Avoiding Common Mistakes
Installing and wiring a 4-wire thermostat can be straightforward, but there are common mistakes that often lead to issues in the HVAC system. By being aware of these, you can ensure a smoother installation process.- Misidentifying Wire Colors: When dealing with thermostat wiring, it's crucial to understand the common color codes. Red wires typically provide 24-volt power to the thermostat, while blue or black are generally used for the common wire. However, always verify with your specific system's manual, as color codes can vary.
- Incorrect Terminal Connections: Ensure each wire is connected to its corresponding terminal. For example, the red wire should connect to the R terminal, often associated with power, while the white wire typically connects to the W terminal for heating. Incorrect connections can lead to malfunctioning heat or cool systems.
- Neglecting the Reversing Valve Connection: For systems with heat pumps, it's essential to connect the thermostat wire to the correct auxiliary heat or reversing valve terminal. This connection is vital for the proper operation of your heat pump system's heating and cooling functions.
- Forgetting to Turn Off Power: Before starting any wiring work, ensure the power to your HVAC system is turned off. This precaution prevents short circuits and ensures safety during the wiring process.
- Overlooking the Control Board: Double-check that the control board of the HVAC system is compatible with your thermostat. Incompatibilities may require additional components, like a common wire adapter, to bridge differences between older systems and modern thermostats.
Simple Troubleshooting Tips for a 4-Wire Thermostat
Even with careful installation, issues may arise. Here are a few basic troubleshooting tips to help resolve common problems:- Check for Loose Connections: Inspect the wire connections at both the thermostat and control board. A loose wire can disrupt the power flow, impacting system control.
- Ensure Correct Heat-Cool Settings: Double-check the thermostat's heating and cooling system settings. If your air handler or furnace isn't responding, the thermostat may not be set to the desired mode.
- Verify HVAC System Compatibility: Confirm that your system is compatible with the 4-wire configuration and the Nest thermostat, for instance. Incompatibility can often lead to issues with system operation.
Integrating Smart Features with a 4-Wire Thermostat
Integrating Modern Features into Your 4-Wire Setup
Integrating smart features with a 4-wire thermostat can significantly enhance your HVAC system's efficiency and convenience. The process involves understanding each component, such as the control board, transformer, and the color codes of the thermostat wires. Here's what you need to know:- Understanding Thermostat Wiring: Before you start, familiarize yourself with the wiring diagram. Typically, the wires in a 4-wire thermostat connect to the following terminals:
- R (Red): power source.
- W (White): heating control.
- Y (Yellow): cooling control or heat pump.
- G (Green): fan or air handler.
- Common Wire and Smart Thermostats: While not always present, a common wire (C-wire) is essential for supplying continuous power to smart thermostats, like the Nest thermostat. If a C-wire is not available, options like using a "power extender kit" or the Nest Power Connector can be explored.
- Enhancing Control with Smart Features: Once the wiring is in place, you can integrate smart thermostats into your system. These devices offer advanced features such as:
- Remote temperature control via smartphone apps.
- Automation capabilities, setting your heating cooling preferences based on schedules or geolocation.
- Energy usage insights to help in managing costs efficiently.
- Compatibility and System Checks: Ensure that your HVAC system is compatible with the chosen smart thermostat. Some systems, especially those with a heat pump or aux heat set up, may need specific configurations.
- Avoiding Common Wiring Pitfalls: Be cautious of common mistakes like connecting wires to the wrong terminal, which can lead to system inefficiency or damage. Verify that each wire matches the correct terminal as per your HVAC system's configuration.
Future Trends in Smart Thermostat Technology
Innovations Shaping the Future of Thermostat Technology
Smart thermostats have revolutionized how we control heating and cooling systems, and their impact continues to evolve. As technology advances, enhancements in thermostats will further streamline temperature management and energy efficiency.- Adaptive Learning: Smart thermostats are expected to become even more intuitive, learning from user habits and preferences to adjust temperatures automatically. By analyzing data patterns, these systems will anticipate the best comfort levels, optimizing energy use and reducing costs.
- Integration with IoT and Smart Home Devices: Continuing integration with the broader Internet of Things (IoT) ecosystem will allow thermostats to coordinate with other smart devices in the home. For instance, a thermostat can start cooling before you arrive home, by communicating with your smartphone's location settings.
- Advanced Sensor Technologies: The development of improved sensor technology means thermostats can more accurately gauge room temperatures and detect occupancy. This feature will enable the system to adjust heating or cooling only when necessary, leading to increased energy efficiency.
- Enhanced Connectivity and Control Options: Future smart thermostats will incorporate better connectivity options, allowing control over Wi-Fi or cellular networks. Users will enjoy more flexibility in managing their HVAC systems remotely.
- Sustainability Features: As environmental concerns grow, the focus on sustainability in thermostat technology is becoming more pronounced. New models are expected to include features that track energy consumption and provide insights on how to reduce carbon footprints.