Understanding Your Honeywell Home Pro Series Thermostat
Getting to Know Your Honeywell Home Pro Series Thermostat
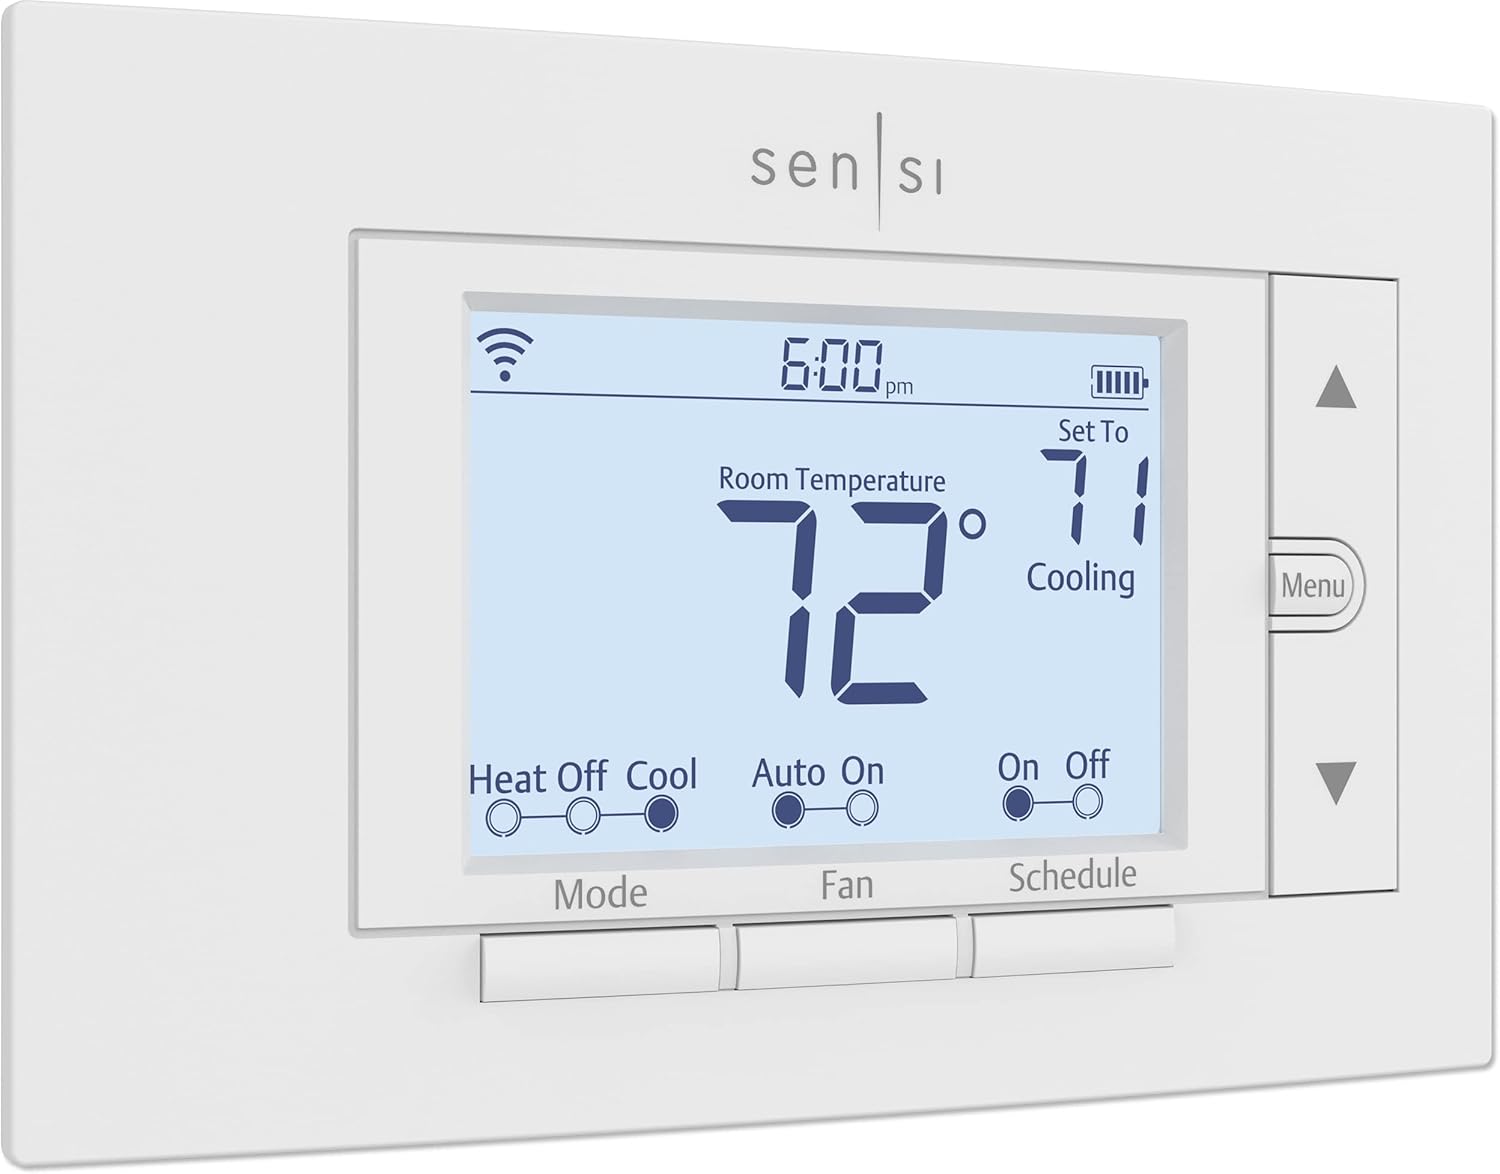
The Honeywell Home Pro Series thermostat represents a significant step forward in home climate control technology. Designed to blend seamlessly into your living environment, this programmable thermostat offers both user-friendly features and energy efficiency. Familiarizing yourself with the device can enhance your overall experience and extend its lifespan.
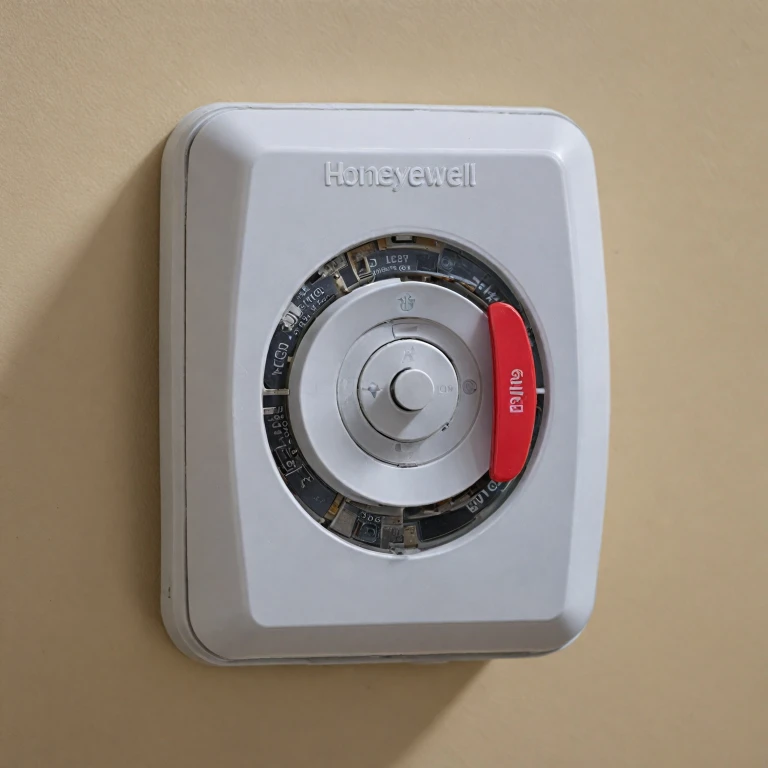
This smart thermostat is part of a series of models providing various functions, from basic temperature control to more advanced options that connect with your home's heating and cooling systems. Most Honeywell thermostats come equipped with a wall-mount design that integrates neatly with your home’s decor. Understanding the specific model of your Honeywell Pro will help in troubleshooting and maintenance tasks, like a battery replacement when necessary.
Each unit is equipped with a battery compartment usually located at the front or bottom of the device, accessible without much trouble. The thermostat relies on batteries to power its digital display and maintain its settings, which can include programmed cycles for heating and air conditioning adjustments. If you're unsure about the role of batteries in this type of model, you might want to explore whether smart thermostats require batteries for more detailed information.

Signs Your Thermostat Battery Needs Replacement
Indicators Pointing to Battery Replacement
Understanding when it’s time to replace the battery in your Honeywell Home Pro Series Thermostat is crucial for smooth operation of your heating and cooling systems. This smart thermostat is designed to deliver consistent performance, but over time the batteries might need an upgrade.
Here are some signs that a change is necessary:
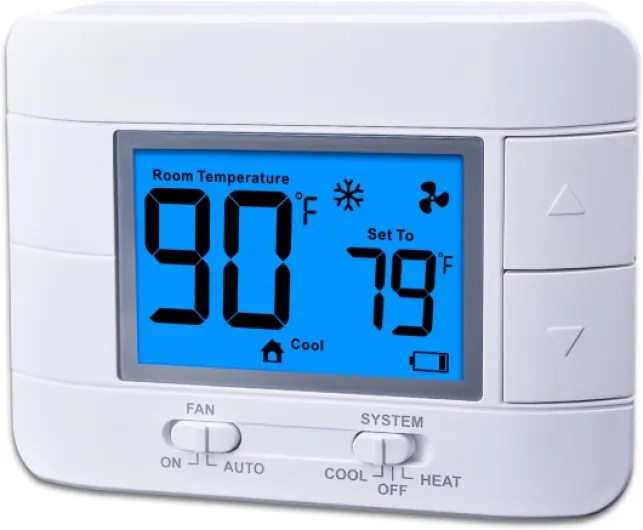
- Low Battery Warning: Your Honeywell thermostat will often display a low battery alert on the screen, signaling the need for a new battery. Paying attention to these warnings ensures your unit continues to function efficiently.
- Display Issues: A faded or blank screen can also indicate low power. This might be accompanied by unresponsive controls or inaccurate temperature settings.
- Thermostat Performance: If your thermostat doesn’t activate the heating or air conditioning system when it is supposed to, batteries might need inspection.
- Missing Scheduled Commands: Not adhering to programmed settings could be another sign that the batteries are on their last legs.
Maintaining the performance of your thermostat ensures your home stays at the desired temperature without hiccups. For more information on ensuring the longevity of your smart thermostat's battery, consider this guide.
Tools and Materials Needed for Battery Replacement
Essential Tools and Materials for Efficient Battery Replacement
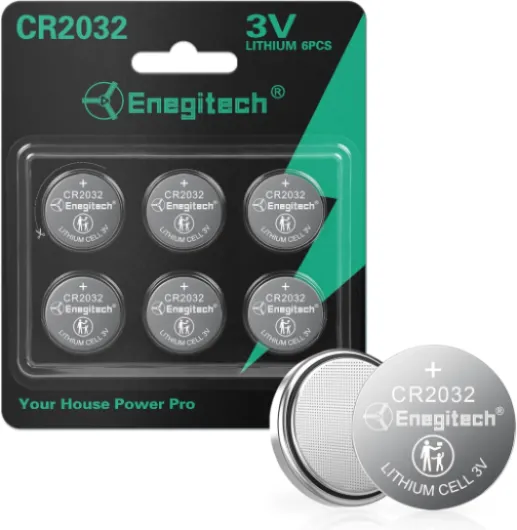
When it comes time to replace the battery in your Honeywell Home Pro Series thermostat, having the right tools and materials ensures a seamless process. The Honeywell thermostats are designed to be user-friendly, but preparation is key for an efficient battery replacement.- Alkaline Batteries: Ensure you have the correct type, typically alkaline, for your particular thermostat model. Checking the Honeywell thermostat user manual can clarify the type and quantity needed for optimal performance.
- Small Screwdriver: Some thermostat models may require a small screwdriver to carefully remove the battery compartment cover without damaging the wall mount.
- Soft Cloth: A soft, lint-free cloth can be useful to clean the thermostat unit and battery compartment. Ensuring the compartments are dust-free helps in maintaining the longevity of your device.
- Step Ladder: If your thermostat unit is installed higher up on the wall, a step ladder might be necessary to safely reach it.
Step-by-Step Guide to Replacing the Battery
Accessing the Thermostat on the Wall
Begin by ensuring the thermostat unit is securely mounted on the wall. Various Honeywell thermostat models from the Pro Series may have slightly different mechanisms, so consulting your user manual is beneficial. Keep in mind that the thermostat is programmed to ensure effective heating and air conditioning, making it vital that the mounting is secure before proceeding.
Opening the Battery Compartment
For most Honeywell thermostats, the battery compartment is accessed from the front or back of the unit. Gently pull the thermostat away from the wall mount, taking care not to damage any components. Some models may require you to slide the unit up or down to detach it. Once separated, locate the battery compartment. This step is crucial as mishandling the unit could affect the heating or air conditioning settings.
Replacing the Batteries
Once the compartment is open, remove the old batteries and dispose of them properly. Check your Honeywell model’s specifications to identify the correct type of batteries—typically, alkaline batteries are recommended for their longevity. Carefully insert the new batteries, ensuring they are aligned with the correct positive and negative terminals indicated in the compartment.
Reattaching the Thermostat
After replacing the batteries, close the battery compartment properly. Reattach the thermostat to the wall unit, ensuring it clicks or slides securely back into place. This step is crucial, as it prevents any loss of connection that could disrupt your programmable thermostat settings for heating, cooling, or air conditioning schedules.
Testing the Thermostat Post-Change
With the new batteries installed, test the smart thermostat to ensure it functions correctly. This involves checking if the display is working and verifying that heating and cooling adjustments are responsive. Failure to do so may require troubleshooting, as noted in the troubleshooting section.
Troubleshooting Common Issues Post-Replacement
Dealing with Common After-Change Issues
Once you have completed the battery replacement in your Honeywell Home Pro Series thermostat, it's crucial to ensure everything is functioning correctly to avoid potential issues affecting your heating or air conditioning systems. For any persistent problems, consider the following troubleshooting tips:- Check Battery Orientation: One frequent mistake is inserting the batteries incorrectly in the battery compartment. Ensure the positive and negative ends match the diagram inside the compartment to guarantee proper functionality of your thermostat.
- Secure the Cover: After changing the batteries, make sure the cover is securely latched back onto the wall-mounted unit. A loose or improperly fitted cover can lead to connection issues affecting the thermostat’s performance.
- Reset the Thermostat: Some Honeywell thermostat models might need a manual reset after battery replacement. Consult the user manual to perform a soft or full reset to eliminate any glitches preventing efficient operation.
- Verify the Functionality: Once you change the battery, check if the programmable thermostat displays the correct time and date, ensuring your heating and cooling schedule remains intact.
- Inspect Wiring Connections: Although less common, issues might arise from disturbed wiring when handling the unit. Ensure no wires are loose and check the connections within the thermostat wall panel for any signs of wear or damage.