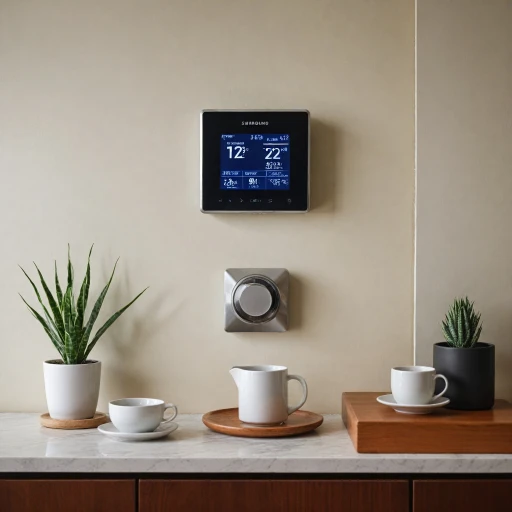
Understanding Smart Thermostat Compatibility
Decoding the Landscape of Smart Thermostat Compatibility
Navigating the world of smart thermostats, like the Google Nest, requires a solid understanding of compatibility. It's crucial to ensure that your smart thermostat pairs seamlessly with your existing HVAC system. A frequent scenario involves discovering that your highly-anticipated smart device isn't supported by your heating and cooling systems. Avoiding such disappointments begins with a grasp on a few essential aspects.
Firstly, smart thermostats often require various power levels and wiring setups. Systems such as a single stage furnace, dual fuel configurations, or high voltage setups can present unique challenges. Determine if your system handles high or low voltage, as these impact compatibility. For instance, a high voltage furnace heating system might not gel well with many smart thermostats.
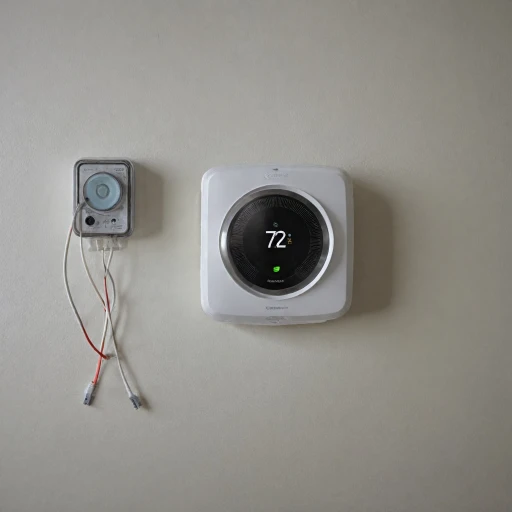
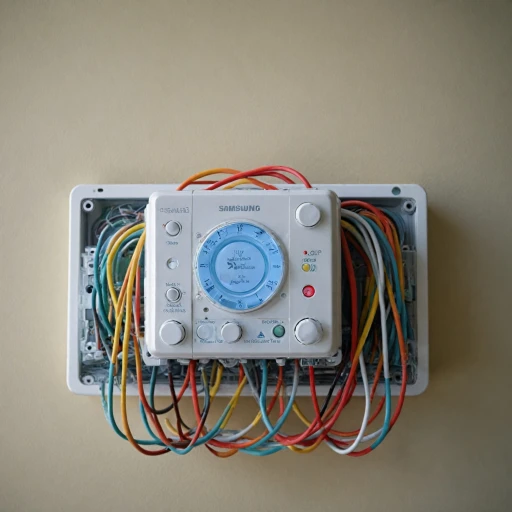
In terms of wiring — the backbone of any thermostat installation — specific wire configurations are critical. A Nest thermostat often needs a C-wire, which provides continuous power. If your current system lacks this wire, you might face hurdles in installation or need additional accessories to work around this.
Moreover, systems with advanced features such as multi-stage heating or heat pumps demand a thermostat capable of managing these intricate dynamics. These systems require different thermostat capabilities than single stage heating setups. It’s a wise move to explore learning thermostat models designed to adapt to your home’s heating and cooling patterns.
To gather a complete picture of your system's compatibility, a visit to a guide on understanding thermostats is an invaluable step in this journey, providing insights that align with your HVAC type.
Recognizing these factors early on helps determine if your HVAC system is compatible with your Nest thermostat or any other smart thermostat model. This understanding avoids the common pitfalls and enhances the ease of installation and future interaction with your smart home systems.
Identifying Your HVAC System Type
Determining Your Home's HVAC Framework
Before diving into the installation of a Nest thermostat or any smart thermostat, it's essential to first identify your home's HVAC system type. This step ensures that the new thermostat will be compatible and function correctly with your setup.
HVAC systems can vary widely, and understanding the type you have is crucial. Here's what you need to look for:
- Single-stage heating and cooling systems: These are basic systems that have a single level of output.
- Multi-stage systems: These offer more levels of heating or cooling, improving energy efficiency and comfort.
- Heat Pump Systems: These systems move heat rather than generating it, making them more efficient during certain months.
- Ductless systems: Often called mini-split systems, these don't use ducts to move air and may require a compatible thermostat option.
- Dual fuel systems: These can switch between electric and gas for optimal efficiency.
- High-voltage systems: Common in electric baseboards, these require specific compatibility considerations.
Accurate identification of your system helps avoid compatibility issues when you install your smart thermostat. For additional help with compatibility related to specific systems, you might consider a comprehensive guide to installation processes which can provide detailed insights.
Using the Nest Compatibility Checker
Using the Google Nest Compatibility Tool
Navigating the world of smart thermostats can be overwhelming, especially when trying to determine if your current HVAC system is compatible with the new technology. Thankfully, Google's Nest Thermostat offers a compatibility checker tool that simplifies this process, ensuring you avoid potential installation issues.
The compatibility tool is an online resource designed to identify whether your heating and cooling configuration will work seamlessly with a Nest thermostat. It evaluates the types of wires and the HVAC system, including heat pumps, dual fuel systems, and single or multi-stage heat stages. Here’s how you can use it:
- Locate your current thermostat and gently remove the faceplate to expose the wiring.
- Identify the wires connected to your existing system – these are usually labeled with letters that represent different stages and functions, such as 'Y' for cooling and 'W' for heating.
- Input details of your HVAC system into the Nest compatibility tool, following the instructions provided.
- The tool will then generate a compatibility report, which indicates if your system can support the Nest thermostat and what, if any, additional components are needed for optimum performance.
Having a comprehensive understanding of the wiring and system requirements can prevent mishaps during the installation process. If the tool suggests the presence of a common wire (C-wire) is essential for powering the thermostat, be ready to address this, as it ensures a reliable power source for efficient functionality. In certain setups, like high voltage systems or specific dual fuel configurations, the assistance of a professional installer might ultimately save you time and complexity.
Common Compatibility Issues and Solutions
Resolving Typical Compatibility Problems
Navigating the world of smart thermostats like the Google Nest can sometimes be tricky, particularly when it comes to ensuring compatibility with your existing HVAC system. If you find discrepancies while using the Nest compatibility checker, don’t panic. Here, we’ll explore some common issues and practical solutions to get your smart thermostat up and running efficiently. One crucial factor affecting a Nest thermostat's compatibility is the wiring of your current system. HVAC systems vary in design, often categorized as single stage, multi-stage, or heat pump systems, each requiring specific wiring configurations. A frequent issue arises when users attempt to install their Nest on a high voltage system, such as an older furnace heating system. Unfortunately, these systems are usually incompatible with modern smart thermostats due to the voltage difference. Here are some common compatibility issues and how to address them:- Missing Common Wire (C-Wire):
- Incompatible Systems:
- Dual Fuel Systems:
Professional Installation vs. DIY
Deciding Between Professional Installation and DIY
Choosing between professional installation and a DIY approach can be a crucial decision when setting up your Nest thermostat. It's essential to weigh the pros and cons of each option carefully to ensure you maximize the benefits of your smart thermostat. Even though the Nest is designed to be user-friendly, connecting it to various HVAC systems, encompassing both single-stage and dual-stage heating, can be complex. Here's a breakdown to help you make an informed decision:- Knowledge of Your HVAC System: If you're comfortable identifying the types of wires connecting your current thermostat to your HVAC system, including whether you have a dual fuel heat pump or a high voltage furnace heating setup, a DIY approach might be a feasible option. However, if you find the existing wiring setup daunting, seeking professional assistance can prevent costly mistakes.
- Compatibility Checks: Before making your decision, it's paramount to verify compatibility with your existing heating and cooling systems. Google provides guidelines on how to determine if your current system is compatible with a Nest thermostat, ensuring you avoid common pitfalls with incompatible setups.
- Cost Considerations: Engaging a professional installer can contribute to higher initial costs, but it often offers peace of mind and ensures that your Nest learning thermostat is correctly set up. On the other hand, doing it yourself can save you money if you have the necessary skills and tools.
- Time and Effort: Installing a smart thermostat involves time and patience. If you have the time to dedicate to a DIY project and are willing to troubleshoot any compatibility or power issues that may arise, this path could work well for you. Conversely, if you prefer a hassle-free experience, professional installation might be worth the investment.
- Support and Guarantees: Some professional installers offer warranties on their work, providing an extra layer of protection if something doesn't work as expected. DIY installations don't offer this security, although Google Nest offers substantial support through their app and online resources.


