Understanding when your Honeywell thermostat needs a battery change
Recognizing the Signs Your Thermostat Needs New Batteries
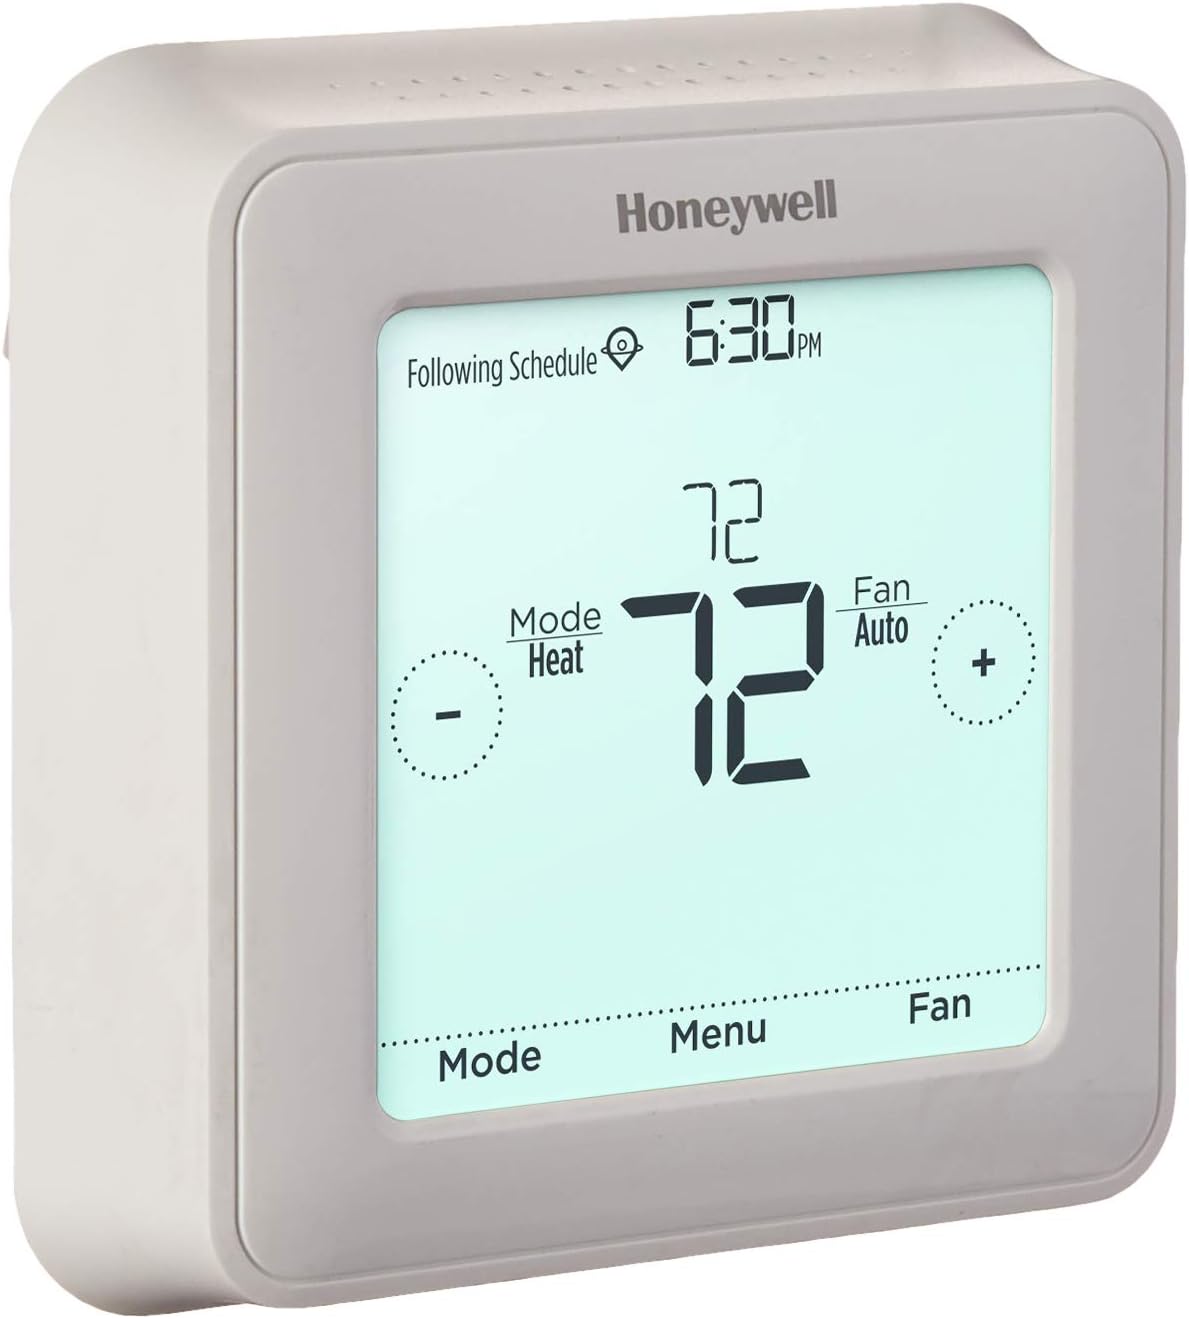
Knowing when to replace the batteries in your Honeywell thermostat is essential for keeping your home comfortable and your device running smoothly. Most Honeywell thermostats will display a low battery warning on the screen. This alert is your first sign that it’s time to act. If you skip this warning, the thermostat may stop working altogether, which can affect your heating and cooling schedule.
- Display changes: If the screen dims, flashes, or shows a low battery icon, it’s a clear indicator the batteries need to be replaced.
- Unresponsive controls: Buttons or touch functions may stop working properly when the battery is low.
- System issues: Your thermostat might not communicate with your HVAC system, causing temperature swings or the system not turning on.
Some Honeywell models use AA or AAA batteries, while others may require a different type. Always check your user manual or the thermostat’s support page for the correct battery type before you remove the thermostat from the wall. If you’re unsure, this guide on changing Honeywell thermostat batteries can help you identify the right batteries and walk you through the process.
Staying proactive with battery replacement will help you avoid unexpected interruptions and keep your thermostat working efficiently. In the next steps, you’ll learn how to gather the right tools and safely remove your Honeywell thermostat from the wall for a smooth battery change.
- + Easy to use - Non-programmable design
- + Single-stage compatibility - Works with 1 heat/1 cool systems
- + Compact size - Fits easily in any home decor
- + Reliable performance - Trusted brand with a good reputation
Gathering the right tools for the job
What you need before you start
Before you remove your Honeywell thermostat from the wall, it’s important to have the right tools and materials on hand. This helps avoid unnecessary interruptions and ensures a smooth battery replacement process. Here’s a quick checklist to help you prepare:
- New batteries: Most Honeywell thermostats use AA or AAA alkaline batteries. Check your model’s manual or the existing batteries to confirm the type you need to replace. Never mix old and new batteries.
- Small flathead screwdriver: Some thermostat models have a plate or cover that requires gentle prying. A small flathead screwdriver will help you remove the thermostat from the wall without damaging the device or the wall plate.
- Clean, dry hands: Oils or moisture can affect battery contacts. Make sure your hands are clean and dry before you handle the batteries or the thermostat.
- Soft cloth: If there’s any dust or debris around the battery compartment, a soft cloth will help you gently clean it before you insert new batteries.
It’s also a good idea to review your thermostat’s user manual for any model-specific instructions. If you’re unsure about your thermostat model or need extra support, you can check the manufacturer’s website or contact Honeywell support for guidance.
For a more detailed walkthrough on changing the battery in your Honeywell thermostat, you can refer to this simple guide to Honeywell thermostat battery replacement. This resource will help you avoid common mistakes and ensure your thermostat continues to function smoothly after you fill the battery compartment with fresh batteries.
Safely removing your Honeywell thermostat from the wall
Preparing to detach your Honeywell thermostat
Before you start, make sure you have the right tools and have read your thermostat’s manual. This will help avoid any accidental damage to the device or wall. If you’re unsure about your model, Honeywell’s official wireless sensor technology guide can provide helpful background on how your thermostat connects and operates.
- Turn off your heating or cooling system to prevent any electrical issues during the process.
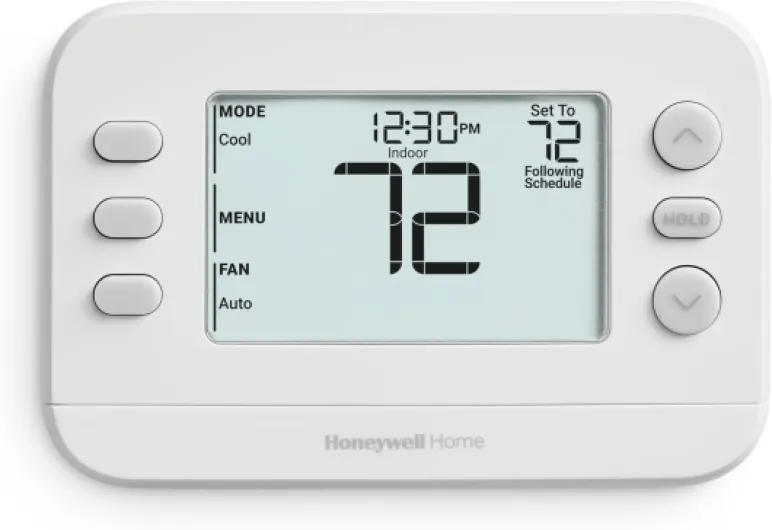
- Locate the thermostat’s body. Most Honeywell thermostats have a faceplate that snaps onto a wall-mounted plate.
- Gently grip the sides of the thermostat. Apply even pressure and avoid using sharp tools that could damage the casing or wall.
- Pull the thermostat straight out from the wall. Do not twist or force it, as this could harm the internal contacts or wiring.
- Once removed, you’ll see the battery compartment on the back of the thermostat. Take note of the battery orientation and the stroke width of the contact points to ensure proper replacement.
If you encounter resistance or are unsure about the process, consult the Honeywell support documentation or your product’s privacy policy for guidance. Skipping steps or forcing the device can lead to issues with the plate or internal contacts. Taking your time will help you safely remove the thermostat and prepare for a smooth battery replacement.
Replacing the battery: step-by-step instructions
Step-by-step process to replace your Honeywell thermostat batteries
- Open the battery compartment
Once you have gently removed your Honeywell thermostat from the wall, locate the battery compartment. Most Honeywell models have a clear battery slot on the back or side. If you are unsure, check your product manual or the support section on the Honeywell website for your specific model. Use your fingers or a small flat tool if needed, but avoid using excessive force to prevent damaging the plate or the thermostat body. - Remove the old batteries
Carefully take out the old batteries. Pay attention to the orientation (the positive and negative ends) so you can insert the new ones correctly. If the batteries are stuck, gently tap the thermostat or use a non-metallic tool to help remove them. Do not use sharp objects, as this could damage the battery contacts or the compartment. - Insert the new batteries
Fill the compartment with fresh batteries, making sure to match the polarity as indicated inside the slot. Most Honeywell thermostats use AA or AAA alkaline batteries, but always check your model’s requirements. Insert the batteries fully so they make solid contact with the metal terminals. If you notice corrosion or residue on the contacts, clean them gently with a dry cloth before inserting the new batteries. - Check the fit and close the compartment
Before reattaching the thermostat to the wall, make sure the batteries are secure and the compartment cover is properly closed. This helps prevent loose connections and ensures your thermostat will operate smoothly. If the cover does not fit or close easily, double-check the battery orientation and that nothing is obstructing the compartment.
If you encounter any issues during this process, such as the battery compartment not closing or the thermostat not powering on after replacement, consult your product’s support documentation or contact Honeywell support for help. Taking these careful steps will help you avoid common mistakes and keep your thermostat running efficiently.
Testing your thermostat after battery replacement
Making Sure Your Honeywell Thermostat Works After a Battery Change
Once you’ve inserted the new batteries into your Honeywell thermostat, it’s important to check that everything is functioning as expected. This step will help you avoid surprises and ensure your comfort at home.
- Reattach the thermostat: Gently align the thermostat with the wall plate. Press it back into place until you hear or feel a click. Make sure it sits flush with the wall and that no wires are pinched.
- Power up: The thermostat display should light up or show its usual screen within a few seconds. If it stays blank, double-check that the batteries are inserted with the correct polarity and are making proper contact.
- Test your settings: Adjust the temperature setting to see if your heating or cooling system responds. Listen for the system to start or stop as you change the setpoint. This confirms the thermostat is communicating with your HVAC system.
- Check for error messages: If you see any warnings or error codes, consult your Honeywell support documentation. Sometimes, a simple battery reseat or a quick reset will resolve minor issues.
- Review the display: Make sure all icons and numbers appear as expected. If something looks off, remove the thermostat again and inspect the battery compartment for any debris or improper fit.
If you run into persistent problems after replacing the battery, it’s a good idea to contact Honeywell support for further help. Keeping your thermostat in good working order will help maintain comfort and efficiency in your home.
Tips to extend battery life and avoid common mistakes
Ways to Make Your Honeywell Thermostat Batteries Last Longer
- Choose the right batteries: Always use high-quality alkaline batteries for your Honeywell thermostat. Cheaper or rechargeable batteries may not provide consistent power and could need more frequent replacement.
- Insert batteries correctly: When you replace the batteries, make sure the positive and negative ends match the markings inside the battery compartment. Incorrect placement can cause the thermostat to malfunction or drain power quickly.
- Keep contacts clean: Before inserting new batteries, gently wipe the metal contacts inside the compartment with a dry cloth. Dust or corrosion on these contacts can reduce efficiency and shorten battery life.
- Handle with care: When you remove the thermostat from the wall, do so gently to avoid damaging the battery compartment or the wall plate. Rough handling can loosen connections and affect battery performance.
- Monitor display brightness: Some Honeywell thermostats allow you to adjust the display brightness. Lowering the brightness can help extend battery life, especially if your model has a backlit screen.
- Check for firmware updates: If your thermostat is a smart model, check the manufacturer’s support page for updates. Improved software can sometimes optimize battery usage.
Common Mistakes to Avoid
- Skipping regular checks: Don’t wait for the low battery warning. Make it a habit to check your thermostat’s batteries at least once a year, or before extreme weather seasons.
- Mixing old and new batteries: Always replace all batteries at the same time. Mixing can cause uneven power delivery and reduce overall battery life.
- Ignoring fit and width: Use batteries that fit snugly in the compartment. Batteries that are too loose or too tight can damage the contacts or the compartment itself.
- Forgetting to reinstall the thermostat securely: After replacing the batteries, make sure the thermostat is properly attached to the wall plate. A loose connection can cause intermittent power loss.
- Neglecting privacy policy and support resources: If you’re unsure about any step, consult the Honeywell support documentation or privacy policy for guidance. Manufacturer resources can help you avoid mistakes and ensure safe handling.
Following these tips will help you get the most out of your Honeywell thermostat batteries and reduce the need for frequent replacements. If you encounter persistent issues, contact Honeywell support for further assistance.