Understanding Your Honeywell Thermostat
Unveiling the Basics of Honeywell Thermostats
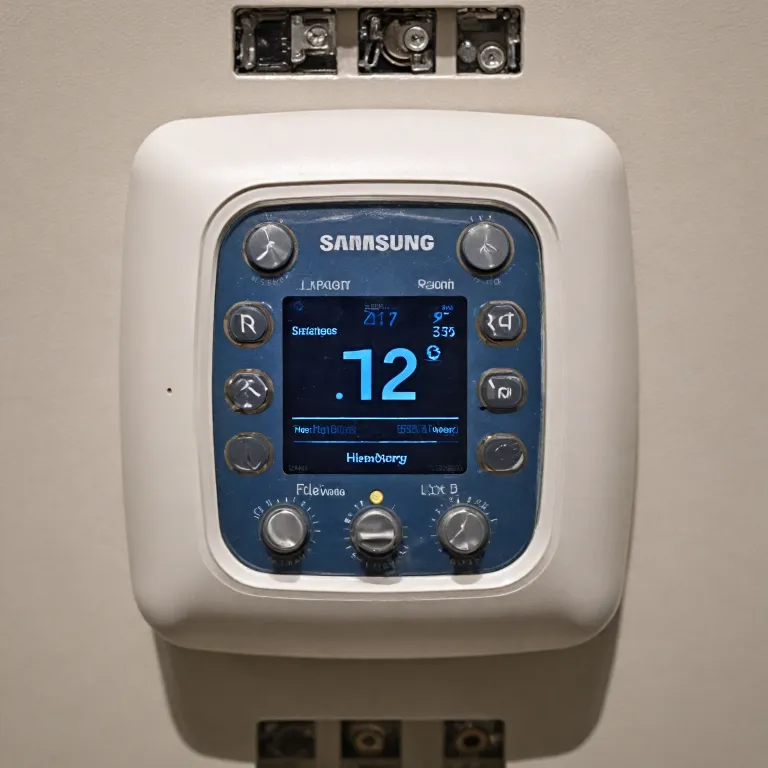
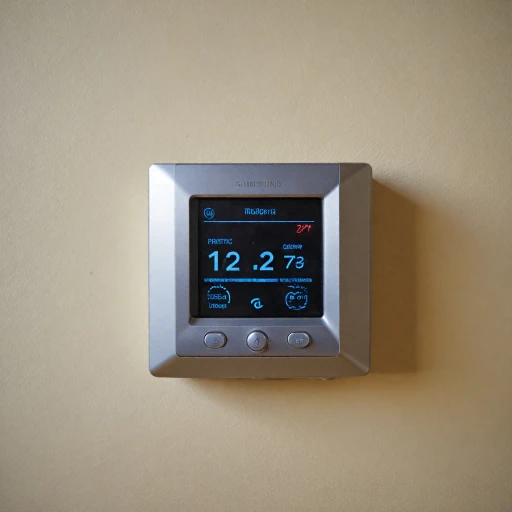
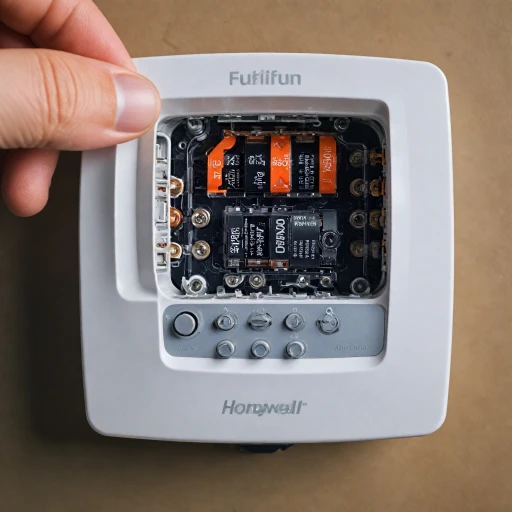
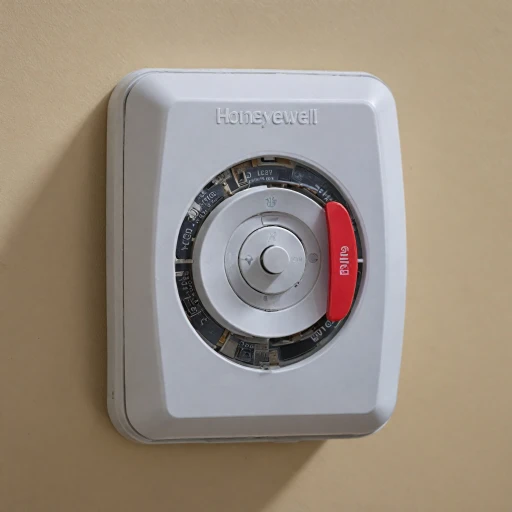
Delving into the world of Honeywell thermostats can initially seem daunting, but understanding your specific thermostat model is crucial for optimal home temperature management. These devices are a key component of your HVAC system, orchestrating the heating and air conditioning to maintain comfort. Honeywell thermostats come in a variety of models, each tailored to meet various requirements, from basic to advanced smart features. Identifying your model is the first step in efficiently replacing batteries or troubleshooting any issues. Most thermostats have a model number printed on the back of the unit or inside the battery compartment. Consulting the user manual of your specific Honeywell thermostat model will offer insights into its unique features and specifications. The batteries in Honeywell thermostats play an integral role in the device's operation. While some models require regular replacement, others feature a more enduring power supply. Typically, AAA alkaline batteries are the preferred choice. Keeping an eye on the air conditioning and heating performance can often reveal telltale signs of a low battery situation. Regularly checking and replacing batteries ensures the thermostat functions without interruption. When it comes to accessing the battery compartment, most units are designed for simplicity. Often, you need to carefully pull the thermostat from the wall, separating it from the mounting plate, to access the inside battery compartment. Remember, Honeywell thermostats are not just about controlling temperature but also enhancing overall home efficiency. From programmable models to those offering integration with other smart home devices, your selection plays a significant role in energy savings and comfort. For more detailed information on replacing the battery in specific Honeywell models, you can refer to this comprehensive guide. Understanding these fundamentals will aid in executing the right steps, whether you're managing low battery alerts or exploring advanced programmable features.Signs Your Thermostat Battery Needs Replacement
Recognizing When Your Thermostat’s Battery Needs Attention
A well-functioning thermostat is crucial for maintaining optimal home comfort and energy efficiency. Honeywell thermostats, like many modern models, rely on batteries to keep the display and controls operational. As a smart thermostat owner, you need to be aware of the signs indicating that it’s time to replace your batteries. One of the first indicators of a battery in need of replacement is a low battery alert on your Honeywell thermostat’s display. Different Honeywell models may showcase this notification differently, so it’s advisable to consult your specific user manual for details. Here are some common signs to look out for:- The thermostat display is dim, fading, or not lighting up at all.
- There are irregularities in your thermostat's operations, such as fluctuating temperatures or unresponsive controls.
- Receiving low battery notifications intermittently.
- The heating or air conditioning system is inconsistent or fails to turn on.
Step-by-Step Guide to Changing the Battery
Follow These Steps to Successfully Change the Batteries
To ensure your Honeywell thermostat continues to operate efficiently, replacing the batteries on a regular basis is crucial. This guide provides a straightforward process for changing the batteries in various Honeywell models. Reference the external sensor guide to enhance your thermostat experience.- Turn Off the Thermostat: Begin by turning off your heating or air conditioning system to prevent any issues during the battery replacement process.
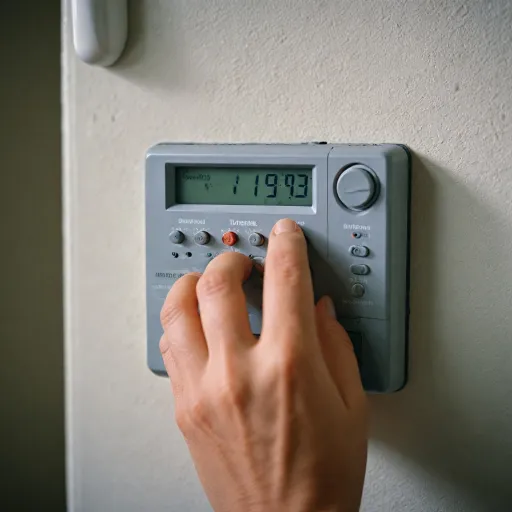
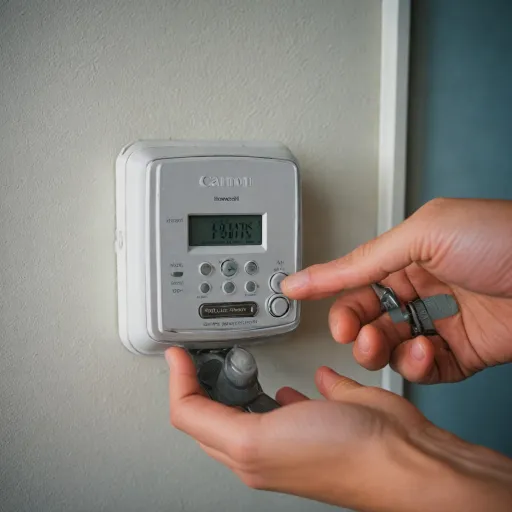
- Access the Battery Compartment: Most Honeywell thermostats feature a battery compartment located on the unit itself. Gently pull the thermostat away from the wall by placing your fingers on the top and bottom of the device, if it's mounted, or simply slide out the compartment if it's a standalone model.
- Check the Battery Type: Once the compartment is exposed, check which type of batteries are required. Many Honeywell thermostats use AAA alkaline batteries, but always refer to your user manual for confirmation.
- Remove and Replace the Batteries: Carefully remove the old batteries from the compartment. It's a good practice to replace all the batteries at once to ensure consistent performance. Insert new batteries, taking care to match the positive and negative ends as indicated inside the battery compartment.
- Secure the Thermostat Back to the Wall: Once the new batteries are in place, align the thermostat with its mounting plate and securely snap it back into position.
- Power On and Check Functionality: Turn on your HVAC system, ensuring the thermostat powers up correctly. Check if the heating cooling systems engage as expected, and adjust settings if necessary.
Troubleshooting Common Issues
Common Problems After Replacing Batteries
Even after successfully replacing the batteries in your Honeywell thermostat, you might encounter a few issues. Here are some common problems and how to address them:
- Thermostat Not Turning On: Double-check that the batteries are installed correctly, with the positive and negative ends aligned as indicated inside the battery compartment. If the thermostat still doesn’t power on, try using a fresh set of AAA alkaline batteries.
- Display Issues: If the display is dim or not showing correctly, ensure the battery compartment is clean and free of any corrosion. Sometimes, gently cleaning the contacts with a dry cloth can help.
- Incorrect Temperature Readings: After replacing the batteries, your thermostat might need a moment to recalibrate. If the issue persists, consult the user manual for your specific model number to perform a reset.
Ensuring Proper Installation
When replacing batteries, ensure the thermostat is securely mounted on the wall. If the unit is loose, it might not function correctly. Check the mounting plate and ensure it’s properly attached to the wall. If you had to pull the thermostat off the wall to replace the batteries, make sure it clicks back into place.
Checking Connections
Sometimes, replacing batteries can inadvertently loosen connections. Ensure all wires are securely connected to the HVAC system. If your Honeywell thermostat model requires specific wiring configurations, refer to the manual for guidance.
Consulting an Expert
If troubleshooting doesn’t resolve the issue, it might be time to consult an expert. A professional can check for deeper issues within the heating and air conditioning system. Regular maintenance, such as duct cleaning, can also prevent future problems.
Maintenance Tips for Your Honeywell Thermostat
Weekly Visual Inspection
Regularly inspecting your Honeywell thermostat can prevent small issues from becoming significant problems. Check the thermostat wall for cleanliness and ensure there's no dust or dirt obstructing the thermostat unit. Dust can affect the air quality and the performance of your heating and cooling system.Keep Your Thermostat Clean
Maintaining cleanliness around your thermostat is key. Regularly clean the area around the mounting plate and any visible parts. Dust can infiltrate the battery compartment, affecting the efficiency of your batteries and potentially leading to low battery warnings prematurely. This keeps your heating and air conditioning systems running smoothly.Battery Maintenance Routine
Many models require periodic battery replacements to function optimally. It’s wise to check the batteries whenever you perform HVAC maintenance. Keep a set of AAA alkaline batteries on hand and replace batteries Honeywell recommends every year or as per the user manual for your specific model number.Be Proactive with System Checks
Scheduling regular checks of your HVAC system is also beneficial. An expert duct cleaning can improve your system's efficiency and longevity, ensuring your thermostat has accurate data for optimal air conditioning and heating cooling performance.Understanding Your Manual
Always refer to the Honeywell thermostat manual for specific maintenance instructions tailored to your model. This ensures you are aware of any model-specific requirements or advanced features. By following these maintenance tips, you can prolong the life of your Honeywell thermostat and keep your home environment comfortable and energy-efficient.Exploring Advanced Features of Honeywell Thermostats
Unlocking the Potential of Your Thermostat
Honeywell thermostats are not just about basic heating and cooling. Their advanced features can significantly enhance your home's comfort and efficiency. From different models to user-specific settings, there's more than meets the eye.
Customizable Scheduling for Optimal Comfort
Most Honeywell thermostat models allow users to create customizable schedules tailored to their daily routines. Whether you're at work or at home, scheduled heating and cooling adjustments ensure optimal comfort around the clock. Checking the user manual can guide you through setting up these personalized schedules.
Smartphone Integration for Remote Management
With the advent of technology, you can now connect many Honeywell thermostats to your smartphone, allowing you to manage your home's temperature remotely. Whether you're on vacation or just cozy on the couch, adjusting your thermostat becomes a breeze. Ensure your model number supports this feature by consulting the manual.
Learning Algorithms for Enhanced Efficiency
Some Honeywell thermostats incorporate learning algorithms that auto-adjust based on your lifestyle patterns. By tracking your preferences, these models reduce energy waste, ensuring efficient HVAC system performance. To capitalize on these capabilities, make sure the thermostat is installed correctly on the wall and connected to the necessary smart networks.
Energy Reports for Informed Decisions
Many models offer energy reports that help you understand your usage patterns. This feature allows you to make informed decisions about energy consumption, potentially lowering utility costs. Regularly pulling these reports ensures you keep track of your heating and air conditioning efficiency.
Voice Control for Seamless Operation
Integrating with smart home systems like Amazon Alexa or Google Assistant, Honeywell thermostats can be controlled through voice commands. This hands-free approach streamlines your daily operations and enhances your home's technological landscape. Make sure the thermostat is placed at an accessible spot on the thermostat wall to capitalize on this feature.
Embrace these advanced features to get the most out of your Honeywell thermostat, maintaining not just a warm home during the winter, but a smart and efficient living space year-round.

