Understanding Smart Thermostat Wiring Diagrams
Deciphering the Wiring Diagram
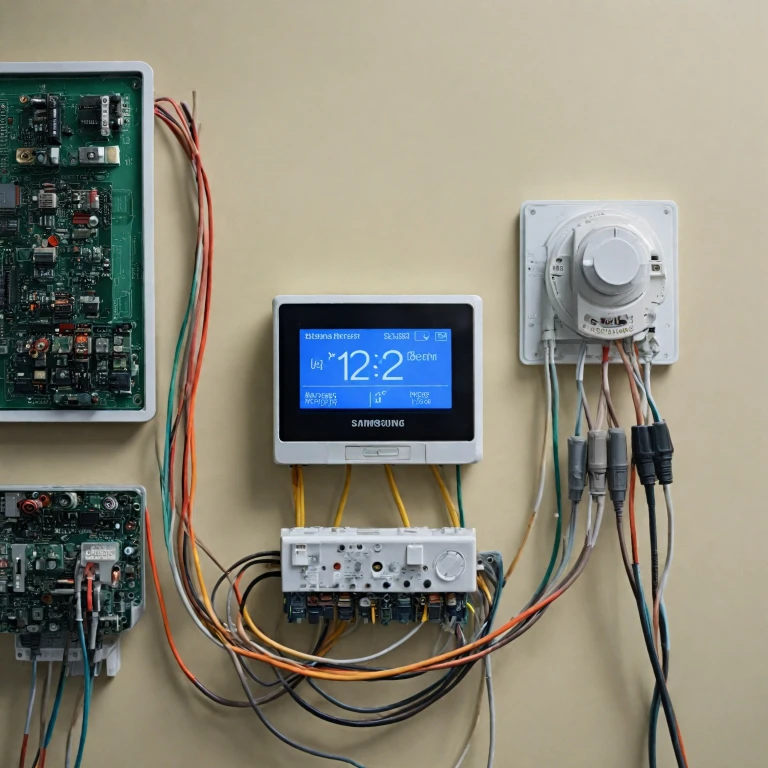
Understanding a smart thermostat's wiring diagram is crucial for a successful installation. These diagrams can initially appear complex, yet they are key to ensuring a correct setup. A thermostat diagram essentially maps out all the wires and connections required for your HVAC system to effectively communicate with your thermostat. Various systems, like air conditioning units, heat pumps, or heating systems, involve different wiring configurations.
Essential Components and Symbols
Wiring diagrams contain symbols representing the components and connections within your system. The most common symbols and components include:
- Red Wire (R): Supplies power to the thermostat from your HVAC system.
- Common Wire (C): Provides a continuous flow of power to keep smart thermostats running.
- White Wire (W): Responsible for controlling heating functions.
- Blue Wire (B): Specifically used in heat pump systems, often as a reversing valve.
- Control Board: The hub that directs power and receives inputs for controlling your HVAC system.
Importance of Wire Colors
Wire colors typically indicate their function, yet it's vital to check your specific HVAC system's manual as these can sometimes vary. Incorrect wiring can lead to system failures or inefficient operation.
When progressing to the identification of your home's wiring system and subsequent wiring steps, having a clear grasp of your wiring diagram is indispensable for a smooth transition. For a detailed breakdown and specific guidance, check our comprehensive guide on wiring.
Identifying Your Home's Wiring System
Recognizing Your Home's Wiring Layout
Before diving into the installation of a smart thermostat, it's crucial to identify your home's existing wiring system. This step ensures compatibility and helps avoid potential issues during the setup process. Understanding the wiring layout involves recognizing the different wires and their functions within your HVAC system.
Types of Wiring Systems
Homes typically have one of several wiring systems, each with its own set of wires and terminals. Here are some common types:
- Conventional Systems: These systems are often found in older homes and may include separate wires for heating and cooling functions. Look for wires labeled with letters like R (red wire for power), W (white wire for heat), Y (yellow wire for cooling), and G (green wire for the fan).
- Heat Pump Systems: These systems use a reversing valve to switch between heating and cooling. They often include an O/B wire for the reversing valve and may have a C wire (common wire) to provide continuous power to the thermostat.
- HVAC Systems with a Common Wire: Modern HVAC systems often include a C wire, which is essential for powering smart thermostats. If your system lacks a C wire, you might need to use a power adapter or consult a professional for installation.
Identifying Wires and Terminals
To identify the wires in your current thermostat setup, remove the thermostat cover and examine the wires connected to the terminals. Each wire should be labeled with a letter corresponding to its function. Here's a quick guide:
- R (Red Wire): Provides power from the HVAC system's control board.
- W (White Wire): Controls the heating function.
- Y (Yellow Wire): Controls the cooling function.
- G (Green Wire): Operates the fan.
- C (Common Wire): Provides continuous power to the thermostat.
- O/B: Used in heat pump systems for the reversing valve.
For a more detailed understanding of wired thermostats, you can explore this comprehensive guide.
Checking Compatibility
Once you've identified the wires, check if your current system is compatible with the smart thermostat you plan to install. Most smart thermostats, like the Nest thermostat, require a C wire for optimal performance. If your system lacks a C wire, consider consulting a professional or exploring alternative power solutions.
Understanding your home's wiring system is a foundational step in the installation process. With this knowledge, you'll be better equipped to tackle the wiring instructions and address any challenges that may arise.
Step-by-Step Wiring Instructions
Essential Preparations for a Seamless Thermostat Installation
Embarking on the installation of a smart thermostat requires a thorough approach to thermostat wiring. Before engaging in the actual connection process, it's crucial to ensure you understand the unique intricacies involved in the setup of your current hvac system. Firstly, power off your air handler and furnace to avoid electrical hazards. This step involves switching off the appropriate circuit breaker to ensure your safety. Next, remove the cover of your current thermostat, revealing the color-coded thermostat wires connected to different terminals such as the red wire for power, the blue wire (often the common wire) for the control board, and the white wire typically for heat. When you have identified all wires and their respective terminals, disconnect the existing thermostat from the wall and remove the wires from the control board. Label each wire according to its terminal before you unscrew them. This prevents any future confusion as well as incorrect wiring which can lead to malfunctions or overheating issues.Connecting the Wires for Effective Heating and Cooling Control
Once you've prepared the wires, it's time to connect your new smart thermostat. Connect each wire to its corresponding terminal on your new thermostat, ensuring each one is securely fit. Typically, the heat pumps system uses the reversing valve wire, labeled O or B, to control the flow of heat. Be particularly mindful if you're installing a Nest thermostat or another smart model. These generally use a common wire to receive continuous power. Verify this requirement against your thermostat's instruction manual, and if a common wire isn't available, consider consulting a professional to avoid damaging your system. Lastly, carefully re-attach the cover, secure your smart thermostat to the wall, and switch the power back on. Review its performance by testing both the heating and cooling settings to confirm everything is connected correctly. For those upgrading their systems, it's important to ensure compatibility. Your heat pump or standard hvac system will dictate the specifics of your installation. If specific diagrams or brand-specific illustrations are needed, check resources such as this comprehensive guide on Understanding Your Daikin Thermostat for additional insights and troubleshooting tips.Common Wiring Challenges and Solutions
Wiring Obstacles and How to Overcome Them
When attempting to wire a smart thermostat, several common challenges can arise. Each type of wiring system can present its unique set of issues, particularly when dealing with older HVAC systems. Let’s explore some frequent challenges and their solutions.- Identifying Wires and Their Functions: One of the most confusing aspects can be identifying which wire performs which function, especially if the wires aren't color-coded. Most systems have a standard color-coding system: the red wire typically is the power wire, the white wire is for heating, and the green is for fan control. However, this isn't always the case due to prior alterations. To avoid mistakes, consult the wiring diagram from your thermostat's manual and compare it to the actual wires connected to your current thermostat.
- Issues with the Common Wire (C-Wire): Many smart thermostats require a common wire for power, known as a C-wire. If your system lacks a C-wire, some thermostats might not function properly. A potential workaround includes using an adapter, purchasing a compatible smart thermostat that doesn’t require a C-wire, or consulting with an HVAC professional to see if one can be added.
- Compatibility with Older Systems: Transitioning from an older thermostat to a smart thermostat can be complex if the heating or cooling system uses unconventional wiring. Heat pumps, for example, involve reversing valves and can be particularly tricky. If unsure, verifying whether your smart thermostat is compatible with your HVAC system before proceeding with the installation is vital.
- Heat Pump Systems: These systems have additional wires due to the reversing valve. The orange wire usually indicates the reversing valve, but manufacturers can vary. Reference the HVAC system manual or contact the product support for confirmation if the standard color-coding doesn't match.
- Challenges with the HVAC Control Board: Situations might arise where the control board within the air handler unit complicates the wiring. Ensuring a secure connection between the thermostat wire and the control board is vital for proper heating and cooling functionality.
Safety Precautions When Wiring a Thermostat
Prioritizing Safety When Connecting Your Smart Thermostat
Wiring a smart thermostat involves a few technicalities, making safety a paramount concern. To prevent any mishaps, it's essential to adhere to some safety precautions during the wiring process.- Shut Off Power: Before you start working on your current thermostat, ensure the power to your HVAC system is completely turned off. Locate the circuit breaker connected to your system and switch it off. This step is crucial to avoid any electrical accidents.
- Understand Wire Functions: Familiarize yourself with the roles of each wire, such as the common wire (typically blue wire) for providing power, the red wire for the power source, and the white wire for heating systems. Recognizing the function of each terminal and wire ensures safe connections.
- Double-Check Connections: After attaching your thermostat wires to the appropriate terminals, it’s important to verify each connection. Improperly connected wires might cause your system to malfunction or pose safety hazards.
- Insulate Unused Wires: If there are any unused wires after connecting your smart thermostat, ensure they are properly insulated. Electrical tape can be used to wrap these wires to prevent any potential short circuits.
- Follow Manufacturer Instructions: Manufacturers like Nest or other smart thermostat brands often provide detailed installation instructions. Diligently following these guidelines can prevent safety risks and ensure that your system operates smoothly.
- Avoid Short Circuits: Ensure that no wires are frayed or damaged during installation. Short circuits can occur if wires are exposed, which may lead to system failure or even electrical fires.
Upgrading to a Smart Thermostat: What to Consider
Key Considerations for Upgrading to a Smart Thermostat
Before transitioning to a smart thermostat, it’s essential to evaluate a few critical factors to ensure compatibility with your existing HVAC system and optimize performance.- Compatibility with Your HVAC System
- Ensure the smart thermostat is compatible with your current HVAC system. Review the wiring requirements, such as thermostat wires, and determine if your system supports functions like cooling, heating, or heat pumps.
- Check if your HVAC system includes components like a reversing valve or a heat pump, as some thermostats might require additional configuration to manage these features.
- Understanding Wiring Requirements
- Investigate the specific wiring needs for the smart thermostat. Most systems require a common wire (often a blue wire), which provides power to the thermostat. If your current thermostat lacks a C-wire, additional steps may be necessary to install one.
- Familiarize yourself with common wiring terms like red wire for power, white wire for heating, and control board connections to the air handler.
- Features and Integration
- Consider the smart thermostat's capabilities, such as connectivity with smart home systems, remote monitoring, and integration with devices like Nest thermostats.
- Evaluate whether the thermostat offers versatile control mechanisms, such as smartphone apps or voice commands, which enhance convenience and energy management.
- Energy Efficiency and Cost Savings
- Assess the thermostat’s energy-saving features, like adaptive learning for efficient heating and cooling. This can lead to reduced energy bills while maintaining comfort.
- Professional Installation vs. DIY
- Determine if professional installation is necessary or if you feel comfortable handling the wiring yourself, taking into account any challenges and safety precautions highlighted in earlier sections.